We’ve partnered with NatWest Rooster Money to give your kids a head start with money. Whether it’s through Bikeability cycle training or building money skills with Rooster Money, we’re proudly supporting young people to learn new skills, build their confidence and earn some independence. As headline sponsors of this year’s Cycle to School Week, Rooster Money have co-written this article with us to make sure your kids have everything they need to stay safe on the road.
Cycling is a great way for your kids to enjoy the outdoors, travel to school, and gain their own independence. But before your kids put their foot to the pedal, they need to understand the importance of putting safety first. Introducing your kids to essential cycling safety gear is a great way to protect them from injuries and build good safety habits from a young age. To give you peace of mind when they’re out cycling, we’ve pulled together our 4 best pieces of cycling safety equipment for kids.

1. Helmets
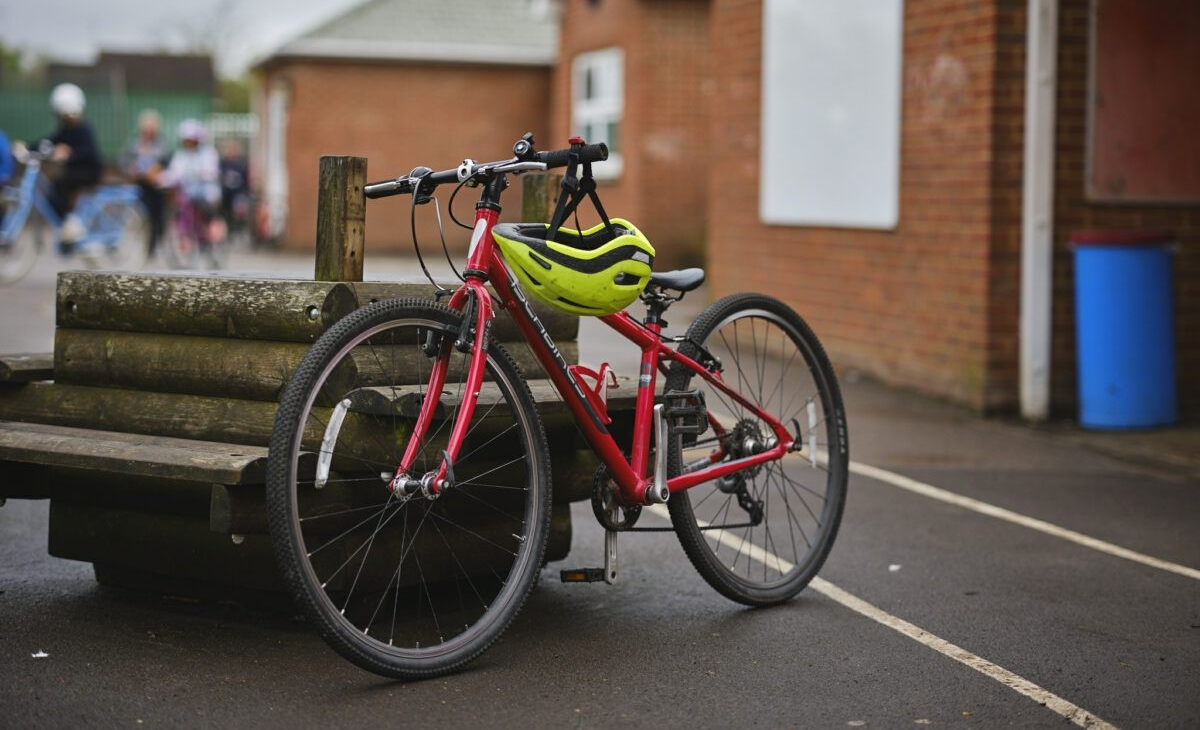
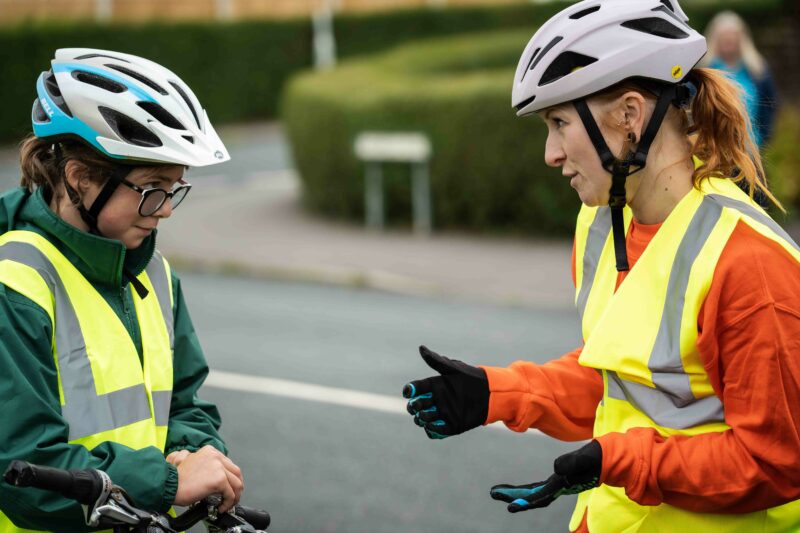
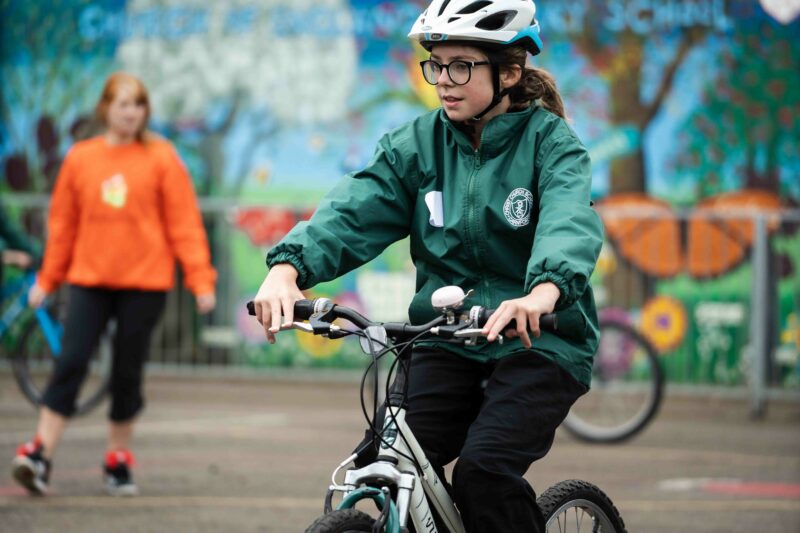
When it comes to cycling safety, helmets are an important piece of equipment to protect your kids. If your kids get into an accident, a helmet could be the difference between a small scrape and a serious injury. Make sure they don’t leave the house without it and make sure they wear it when they’re on their cycle.
When looking for the right helmet for your child, you’ll want to look out for:
- Proper Fit – If you are wearing a helmet, make sure it fits snugly around the head and that the straps are not loose under the chin. It should sit roughly two centimetres above the eyebrows so that the forehead is not exposed. The helmet’s ‘Y-straps’ should be just below the earlobes
- Safety Certifications – When choosing a helmet, look out for the symbol EN 1080 on the packaging or the helmet itself. This is a symbol from the British Standards Institution (BSI) to show that the helmet has passed all the right safety standards and is suitable for your kids.

2. Bright and Reflective Gear
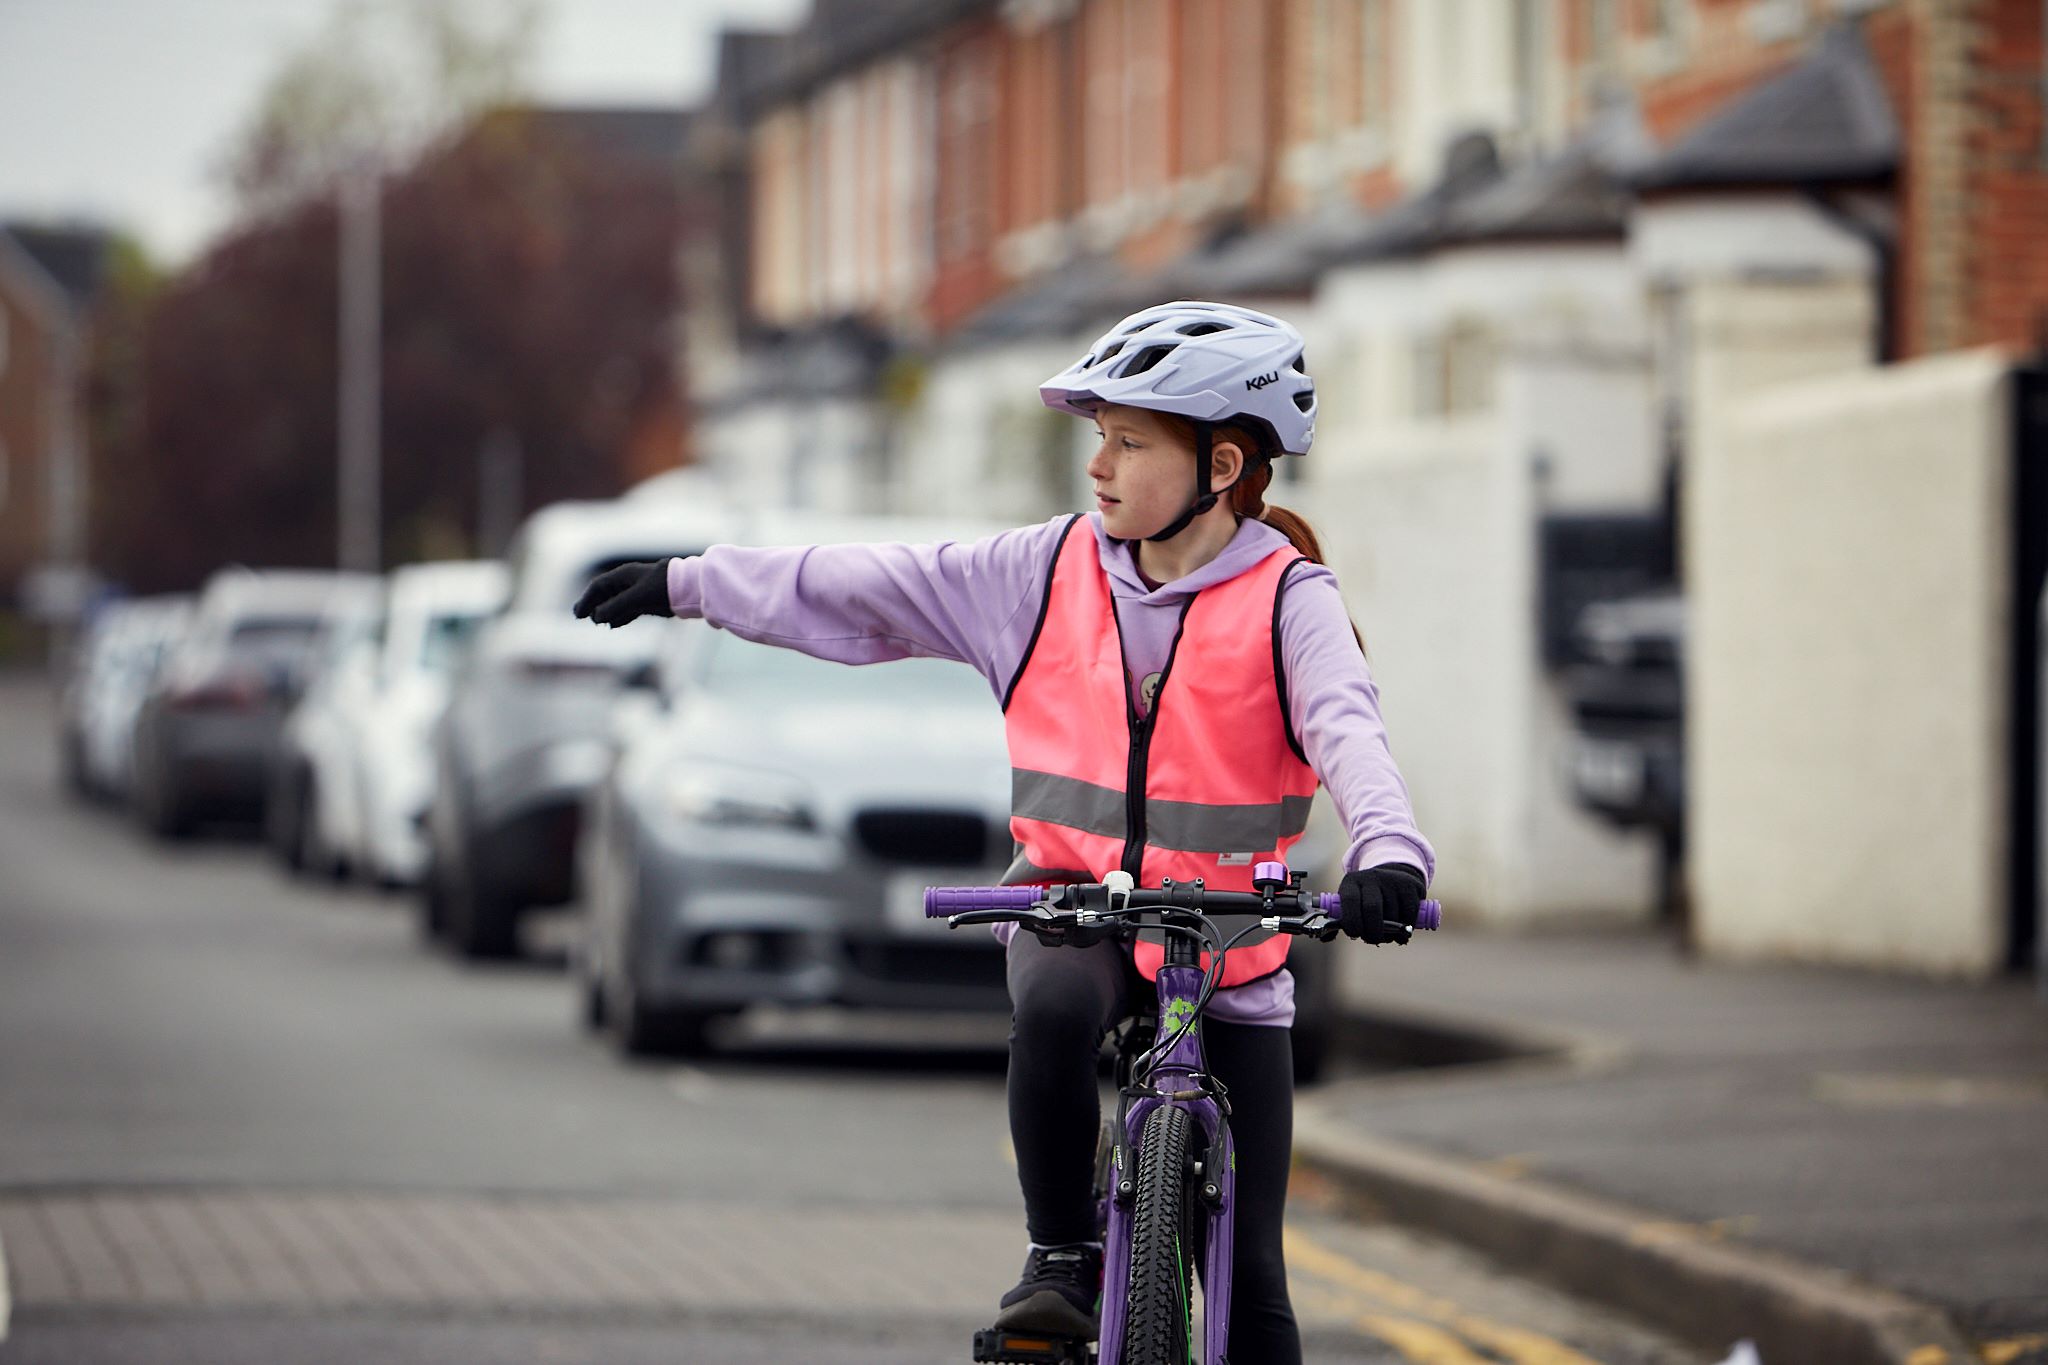
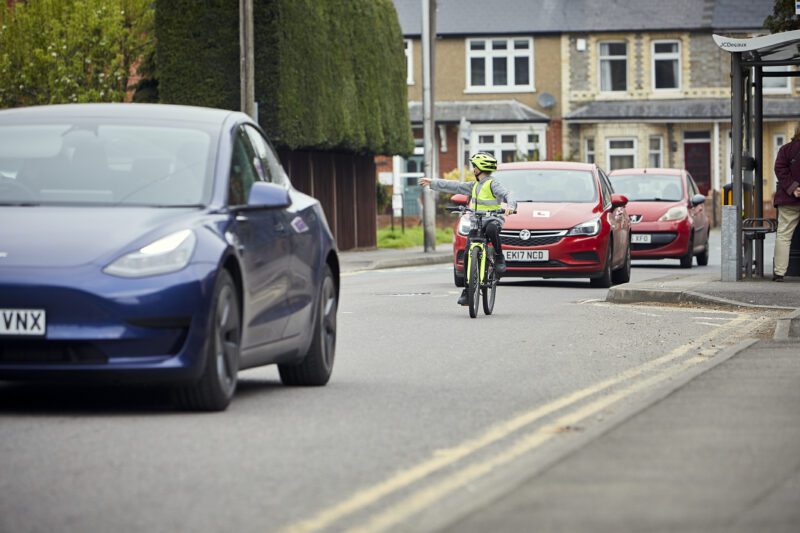
Reflective gear and bright colours can help your child to be seen by drivers, pedestrians and other cyclists using the road. Combined, these bits of gear can improve their visibility in low-light conditions and it’s an easy way to prevent any accidents from happening.
There are a few reflective items of clothing your child can choose:
- Bright Clothing – Wearing anything brightly coloured will help to be seen in good light conditions, such as bright football shirts, or other vivid clothing.
- Reflective Stickers – These reflective stickers can be put on the cycle (spokes), pedals or on jackets, trousers or trainers and will light up the rider when light is shone at them, making them much more visible in low-light conditions.Top Tip: Putting the reflective material on moving parts works even better to make a rider stand out.

3. Cycle Lights
Sticking with the visibility theme, lights are another important piece of kit to keep your kids safe on the road. They can light the way to show your kids where to go, but also make sure other road users can see them. This is super important in the at the end of the school day in darker winter months or if your kids tend to ride around after dark.
When choosing lights for your child, you’ll want to look out for:
- Brightness – The brightness of a light is measured in lumens. Choosing a light between 200-500 lumens should be enough to keep your kids visible on the road.
- Battery Life – You’ll want to find a light with a decent battery life, especially for kids that enjoy the longer cycle sessions. To keep it simple, have a look for a rechargeable light so you can quickly charge it up between rides.
- Waterproofing – Given the typical British weather, it’s worth checking the light can withstand rain and splashes.
- Easy Mounting – You’ll want a light that’s easy to set up, so look for lights with quick-release mounts to make it easier for your kids to get on and off.

4. Cycle Bells
In busier public areas and shared cycle paths, kids might want a bike bell to let people know they’re coming. They can be a handy way to help your kids alert others and navigate through different environments.
When choosing a bell, have a think about:
- Loudness – When choosing a bell, make sure it’s loud enough to cut through noisy environments (but do spare a thought for your poor neighbours who will no doubt hear it all the time).
- Ease of Use – Choose a design that’s easy-to-reach for small hands. The simpler the better for these things as you never know when they might need it.
- Durability – Once again don’t forget to choose something that can survive the British weather. Choose a bell made from sturdy materials that is made to last.
That wraps up our list of the 4 best pieces of kids cycling safety equipment. Whether you choose just one or all the items on this list, take your kids out with you when choosing the equipment so they can have a go themselves before they get riding. That way you’ll have peace of mind knowing they have everything they need to enjoy a safe cycle on their own.
But remember, the best action you can take to give your young rider the skills, knowledge and confidence to use the roads, is to take part in cycle training sessions based on the national standards which Bikeability teaching follows. Find your nearest Bikeability course.
If you’re interested in giving your kids the opportunity to earn some independence and learn new skills, check out NatWest Rooster Money to give your kids a head start with money. Their Rooster Card is a prepaid debit card for kids aged 6-17 that can help them take the next steps towards confident money management. Head to the Rooster Money website to learn more about the Rooster Card and how it can help your kids to get a head start with money.
This is a paid for advertisement feature.
